A promo piece or "leave behind" can be a very useful tool in getting new clients. The goal is to get the attention of prospective clients and keep your name fresh in their minds. I recently put together my own promo piece. However, it was quite the process.
As the goal of my business is to sell fine art prints, to participate in shows and do commission work I did not want to make a small portfolio book or a set of prints, as I felt they were too similar to the products I am trying to sell. So instead of settling for that, or fridge magnets, or pens (although there is nothing wrong with them, and could work for your business) I decided I wanted to make something that showed off my work as well as my love for art. I wanted a tangible art object that had the potential of holding the prospective clients attention over and over again.
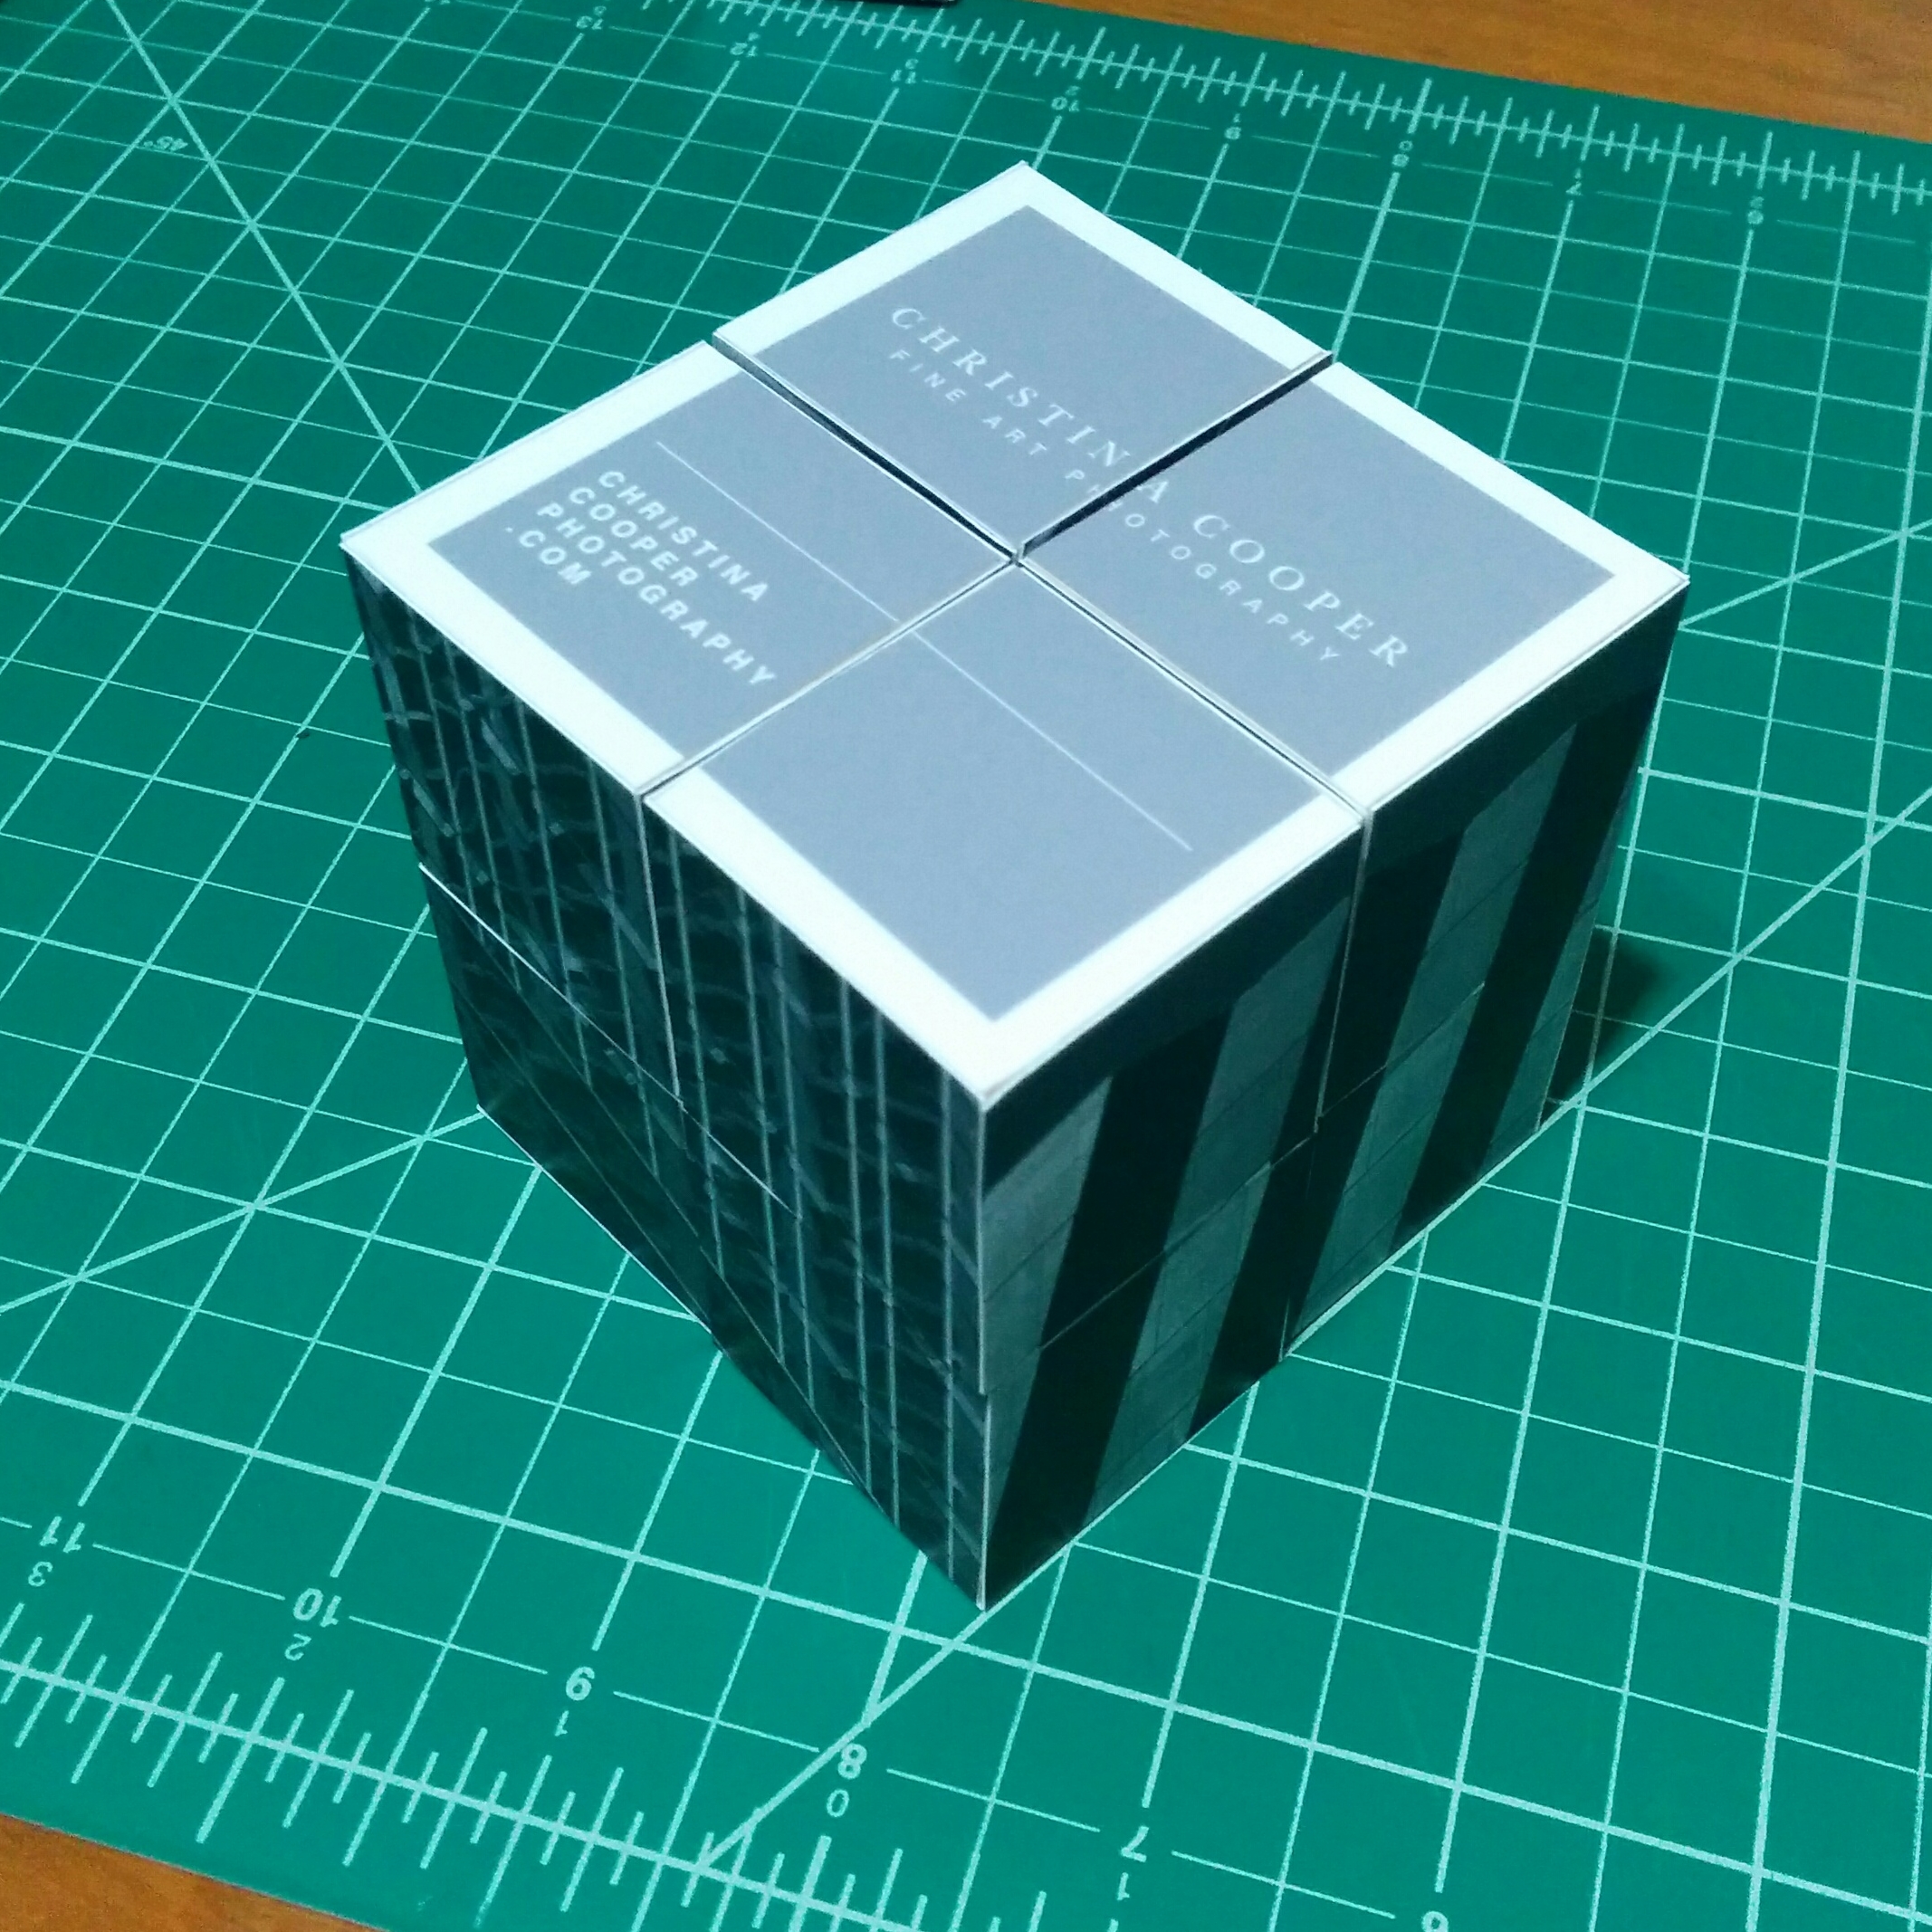
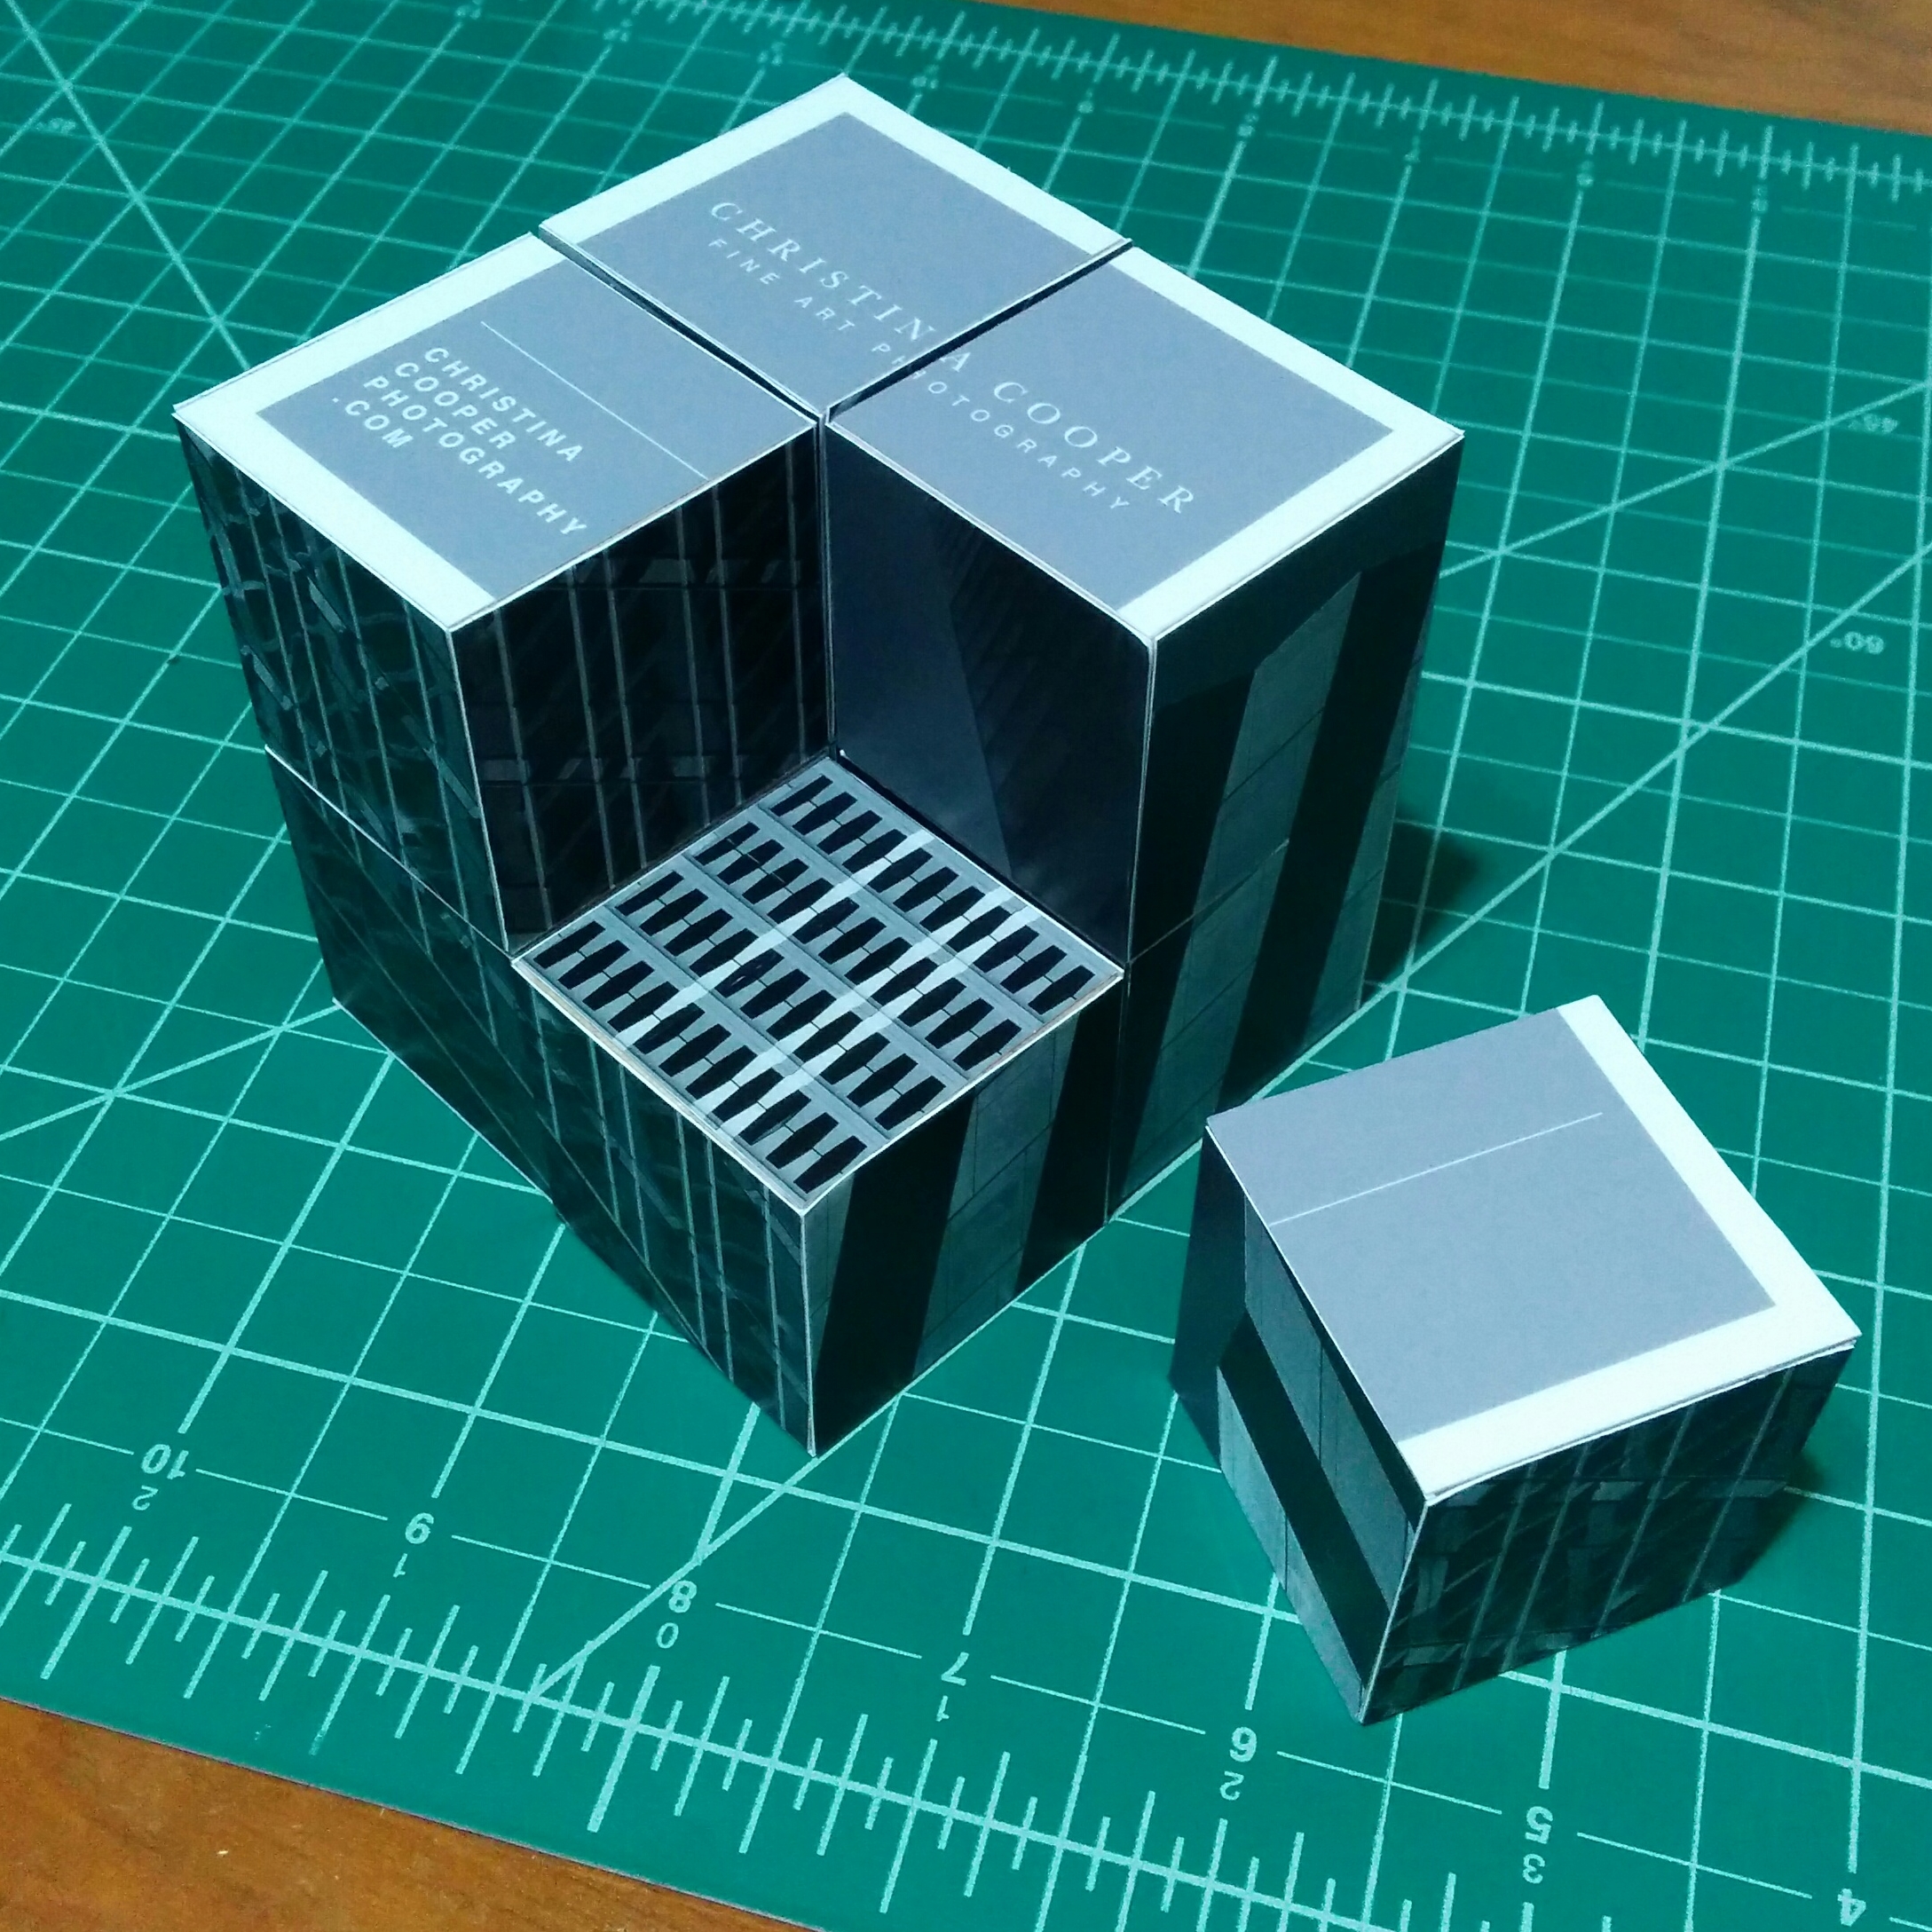
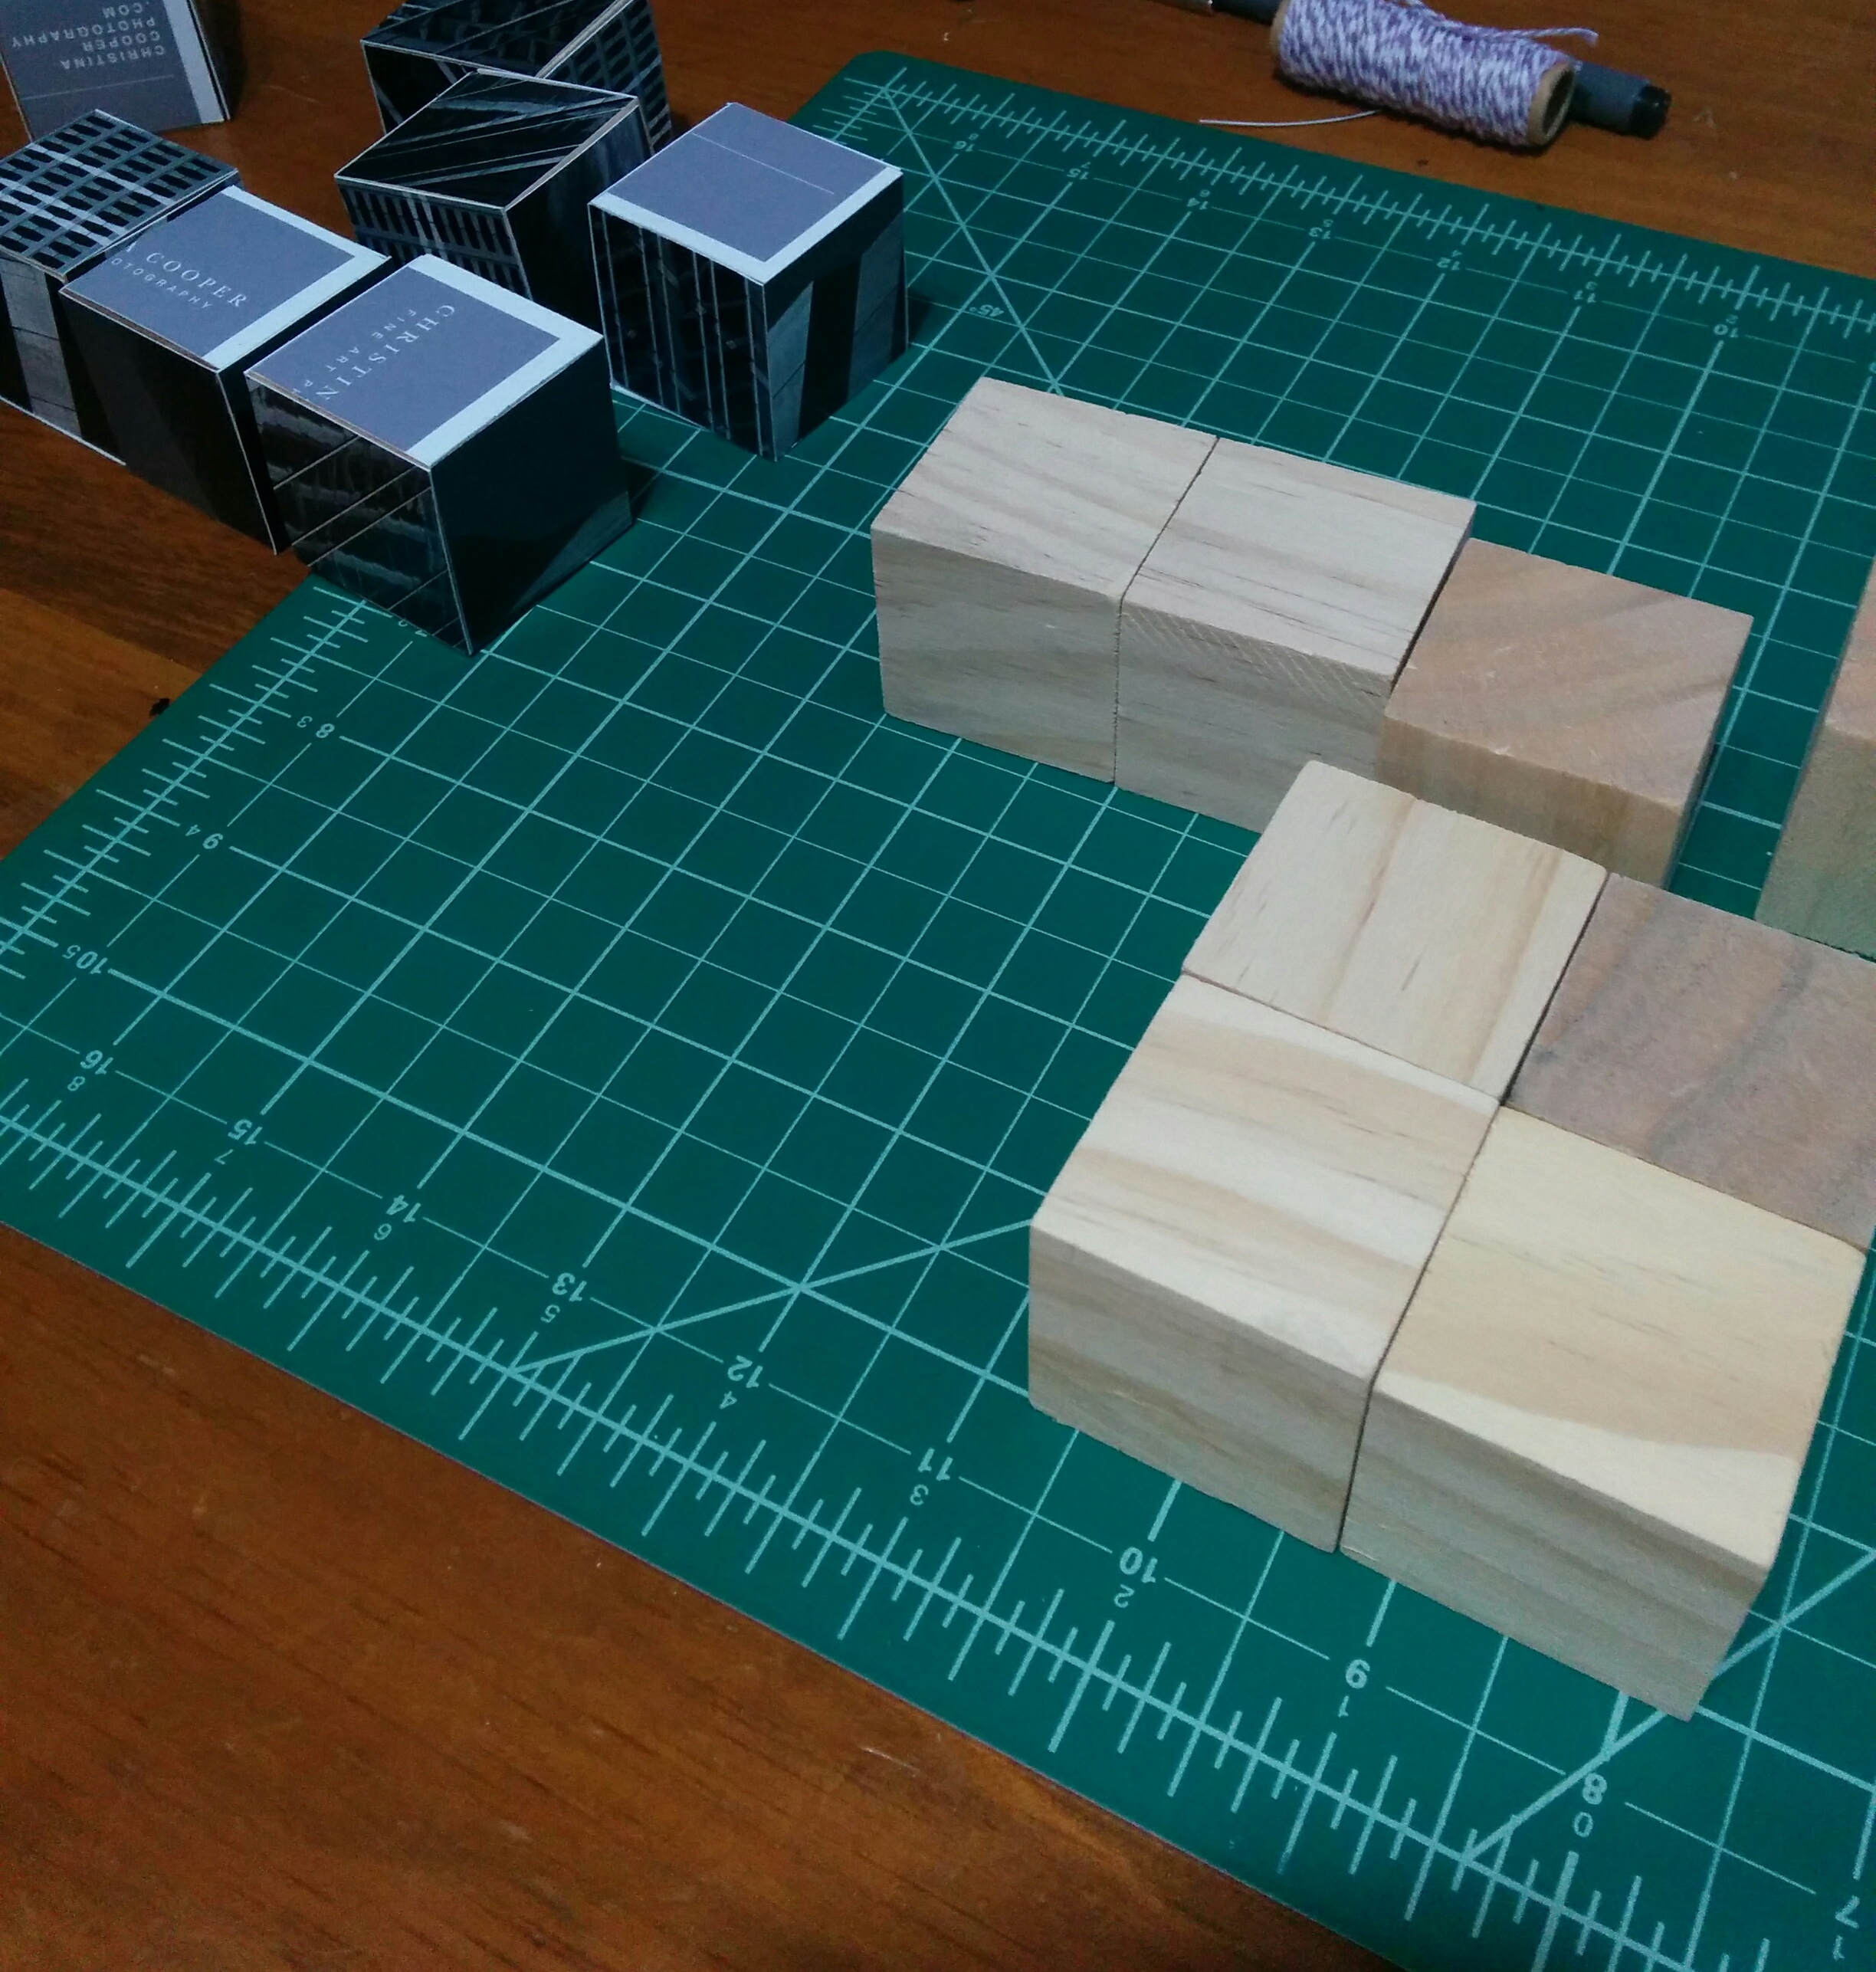
After I had my check list of what I wanted this promo piece to do I had to decided what it would be. As a child, my dad had this very cool M. C. Escher puzzle. I thought it was such a good idea and it checked off every item that I wanted my promo piece to do. The puzzle is made up of 8 small (1.5") cubes, 4 stacked on 4 to make a larger cube. Each side of the larger cube is made up of 4 smaller images that make up the full image. Yet, each smaller cube also carries parts of other images to add confusion and fun! In theory the concept is fairly simple however the construction and not confusing myself in the process was quite the task.
I started out by making 8 cubes from printer paper. I wasn't sure how everything was going to be laid out and the printer paper allowed me to visualize the final product. From there I went out and purchased 16 wooden cubes from a craft store. I considered using a heavy card stock or styrofoam for my cube base but I wanted to make sure that this product would last and be durable so I felt that wood would be the best option.
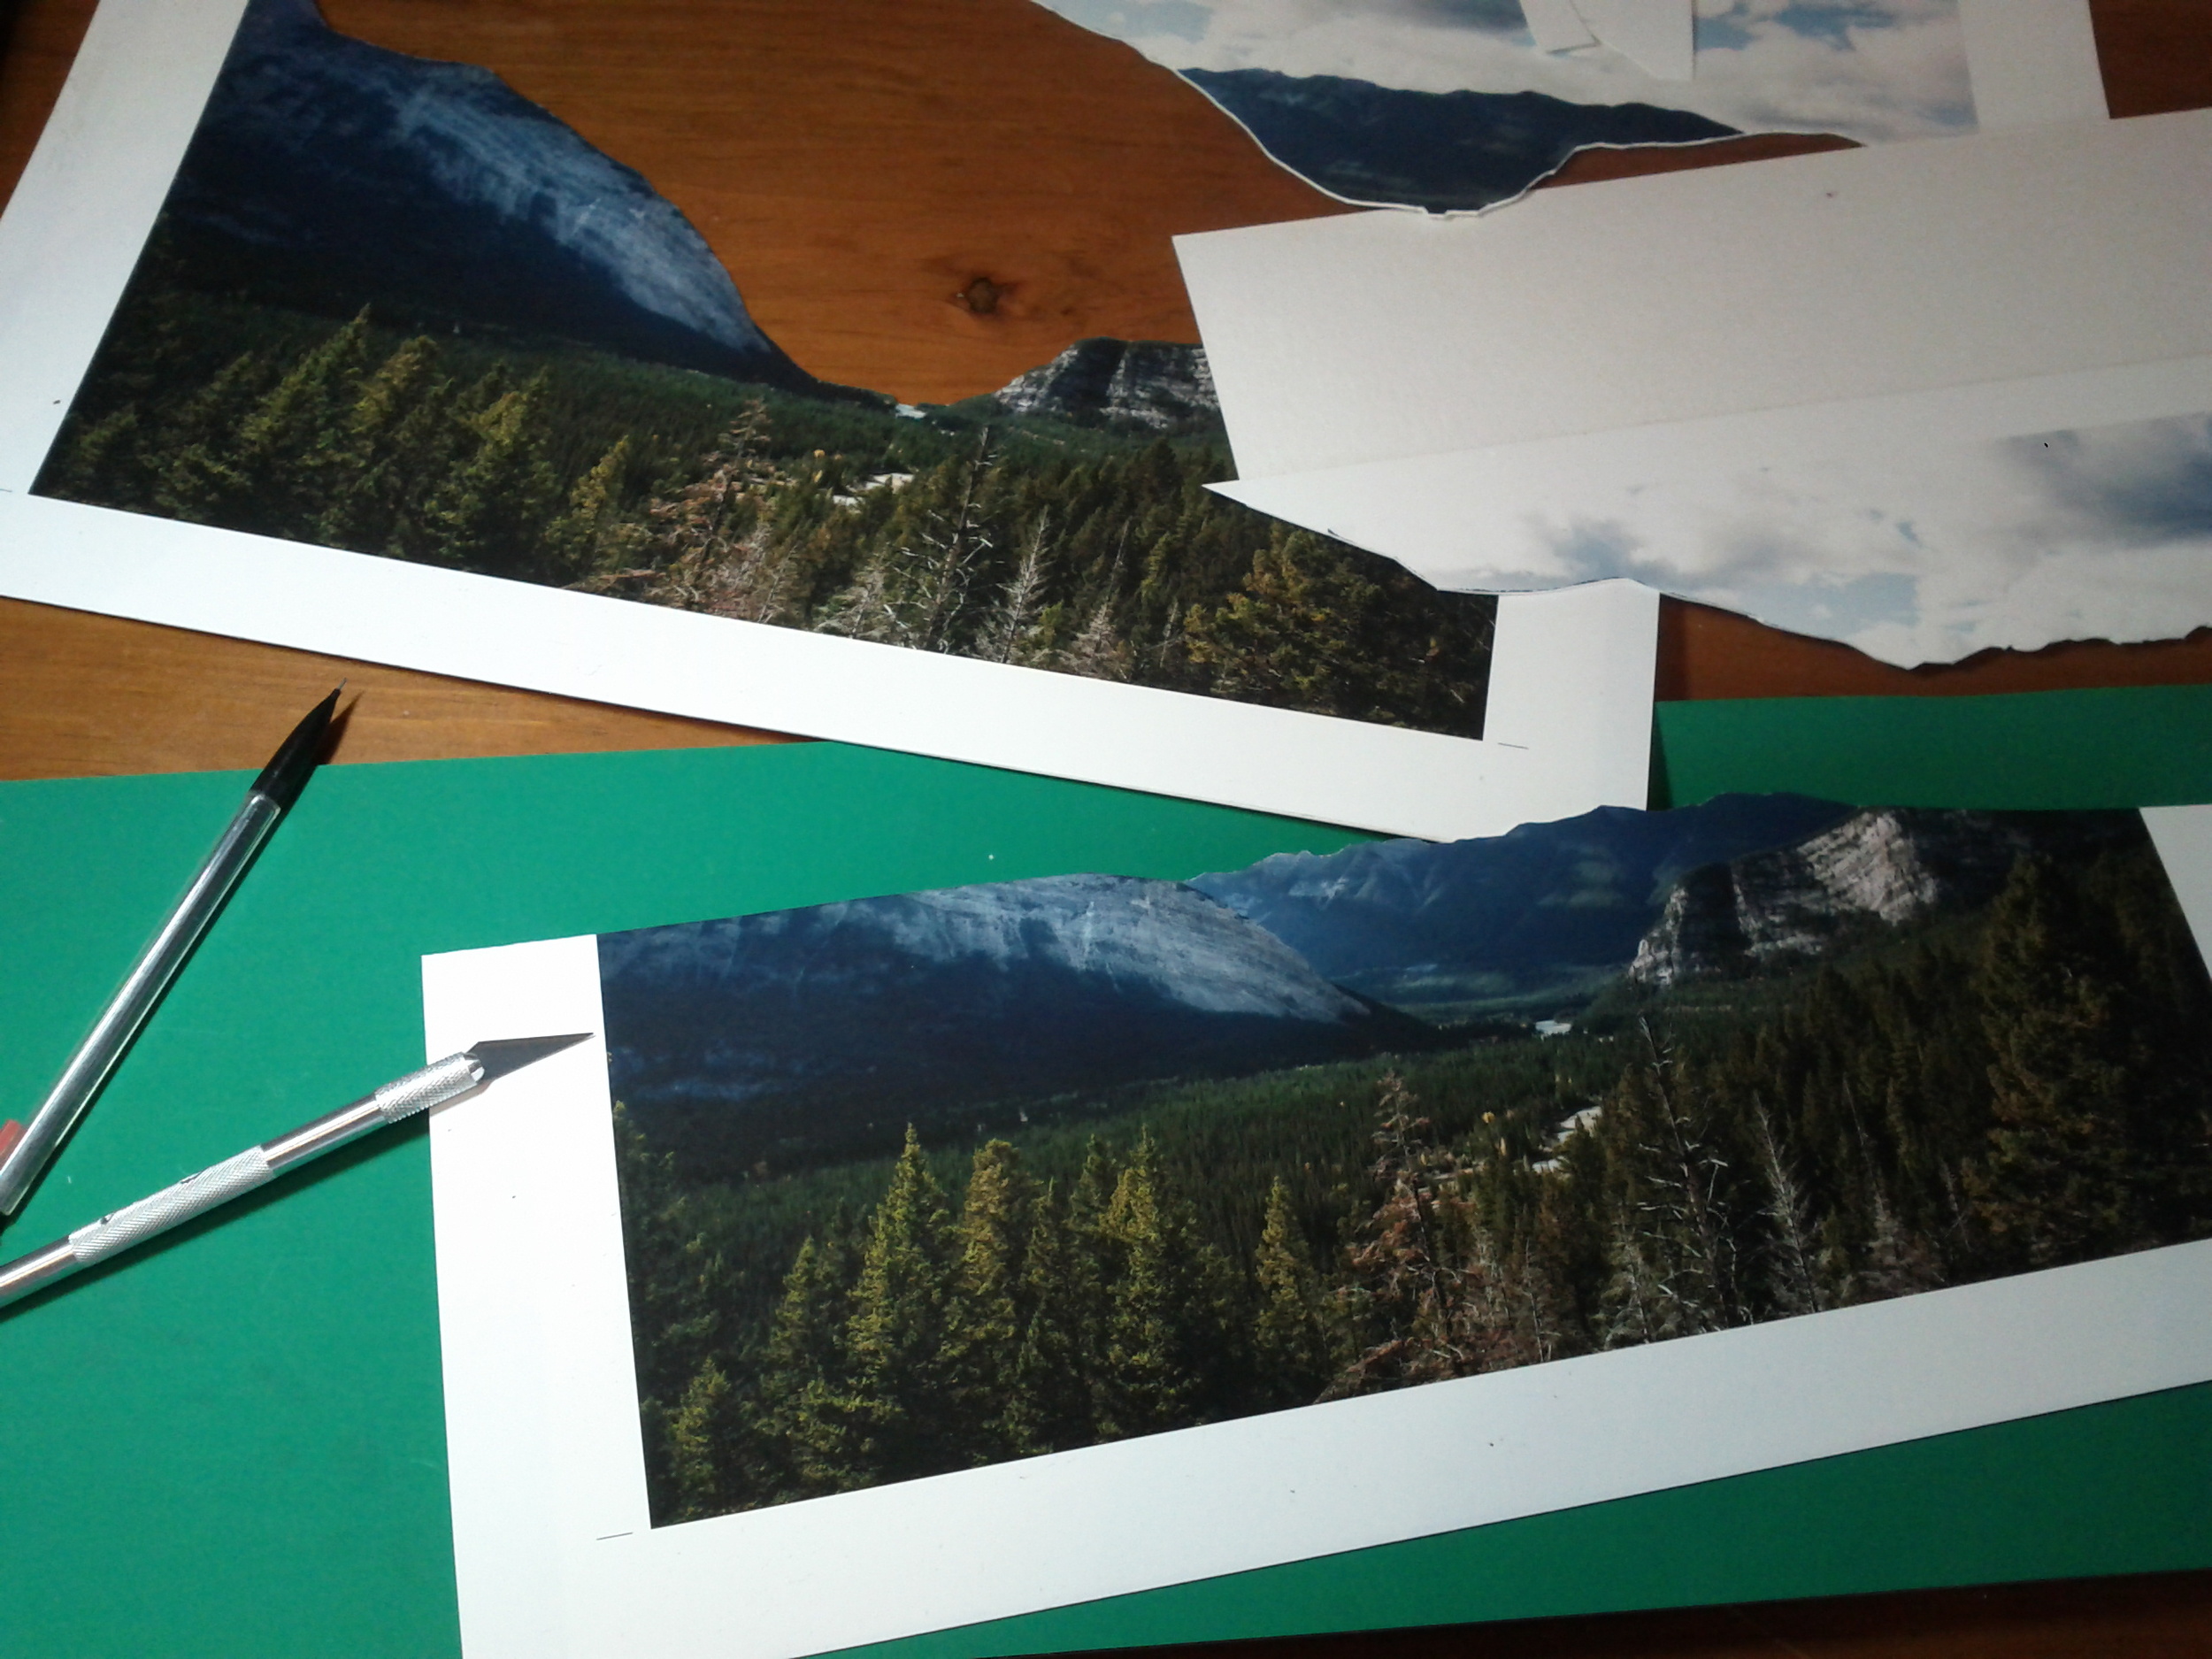
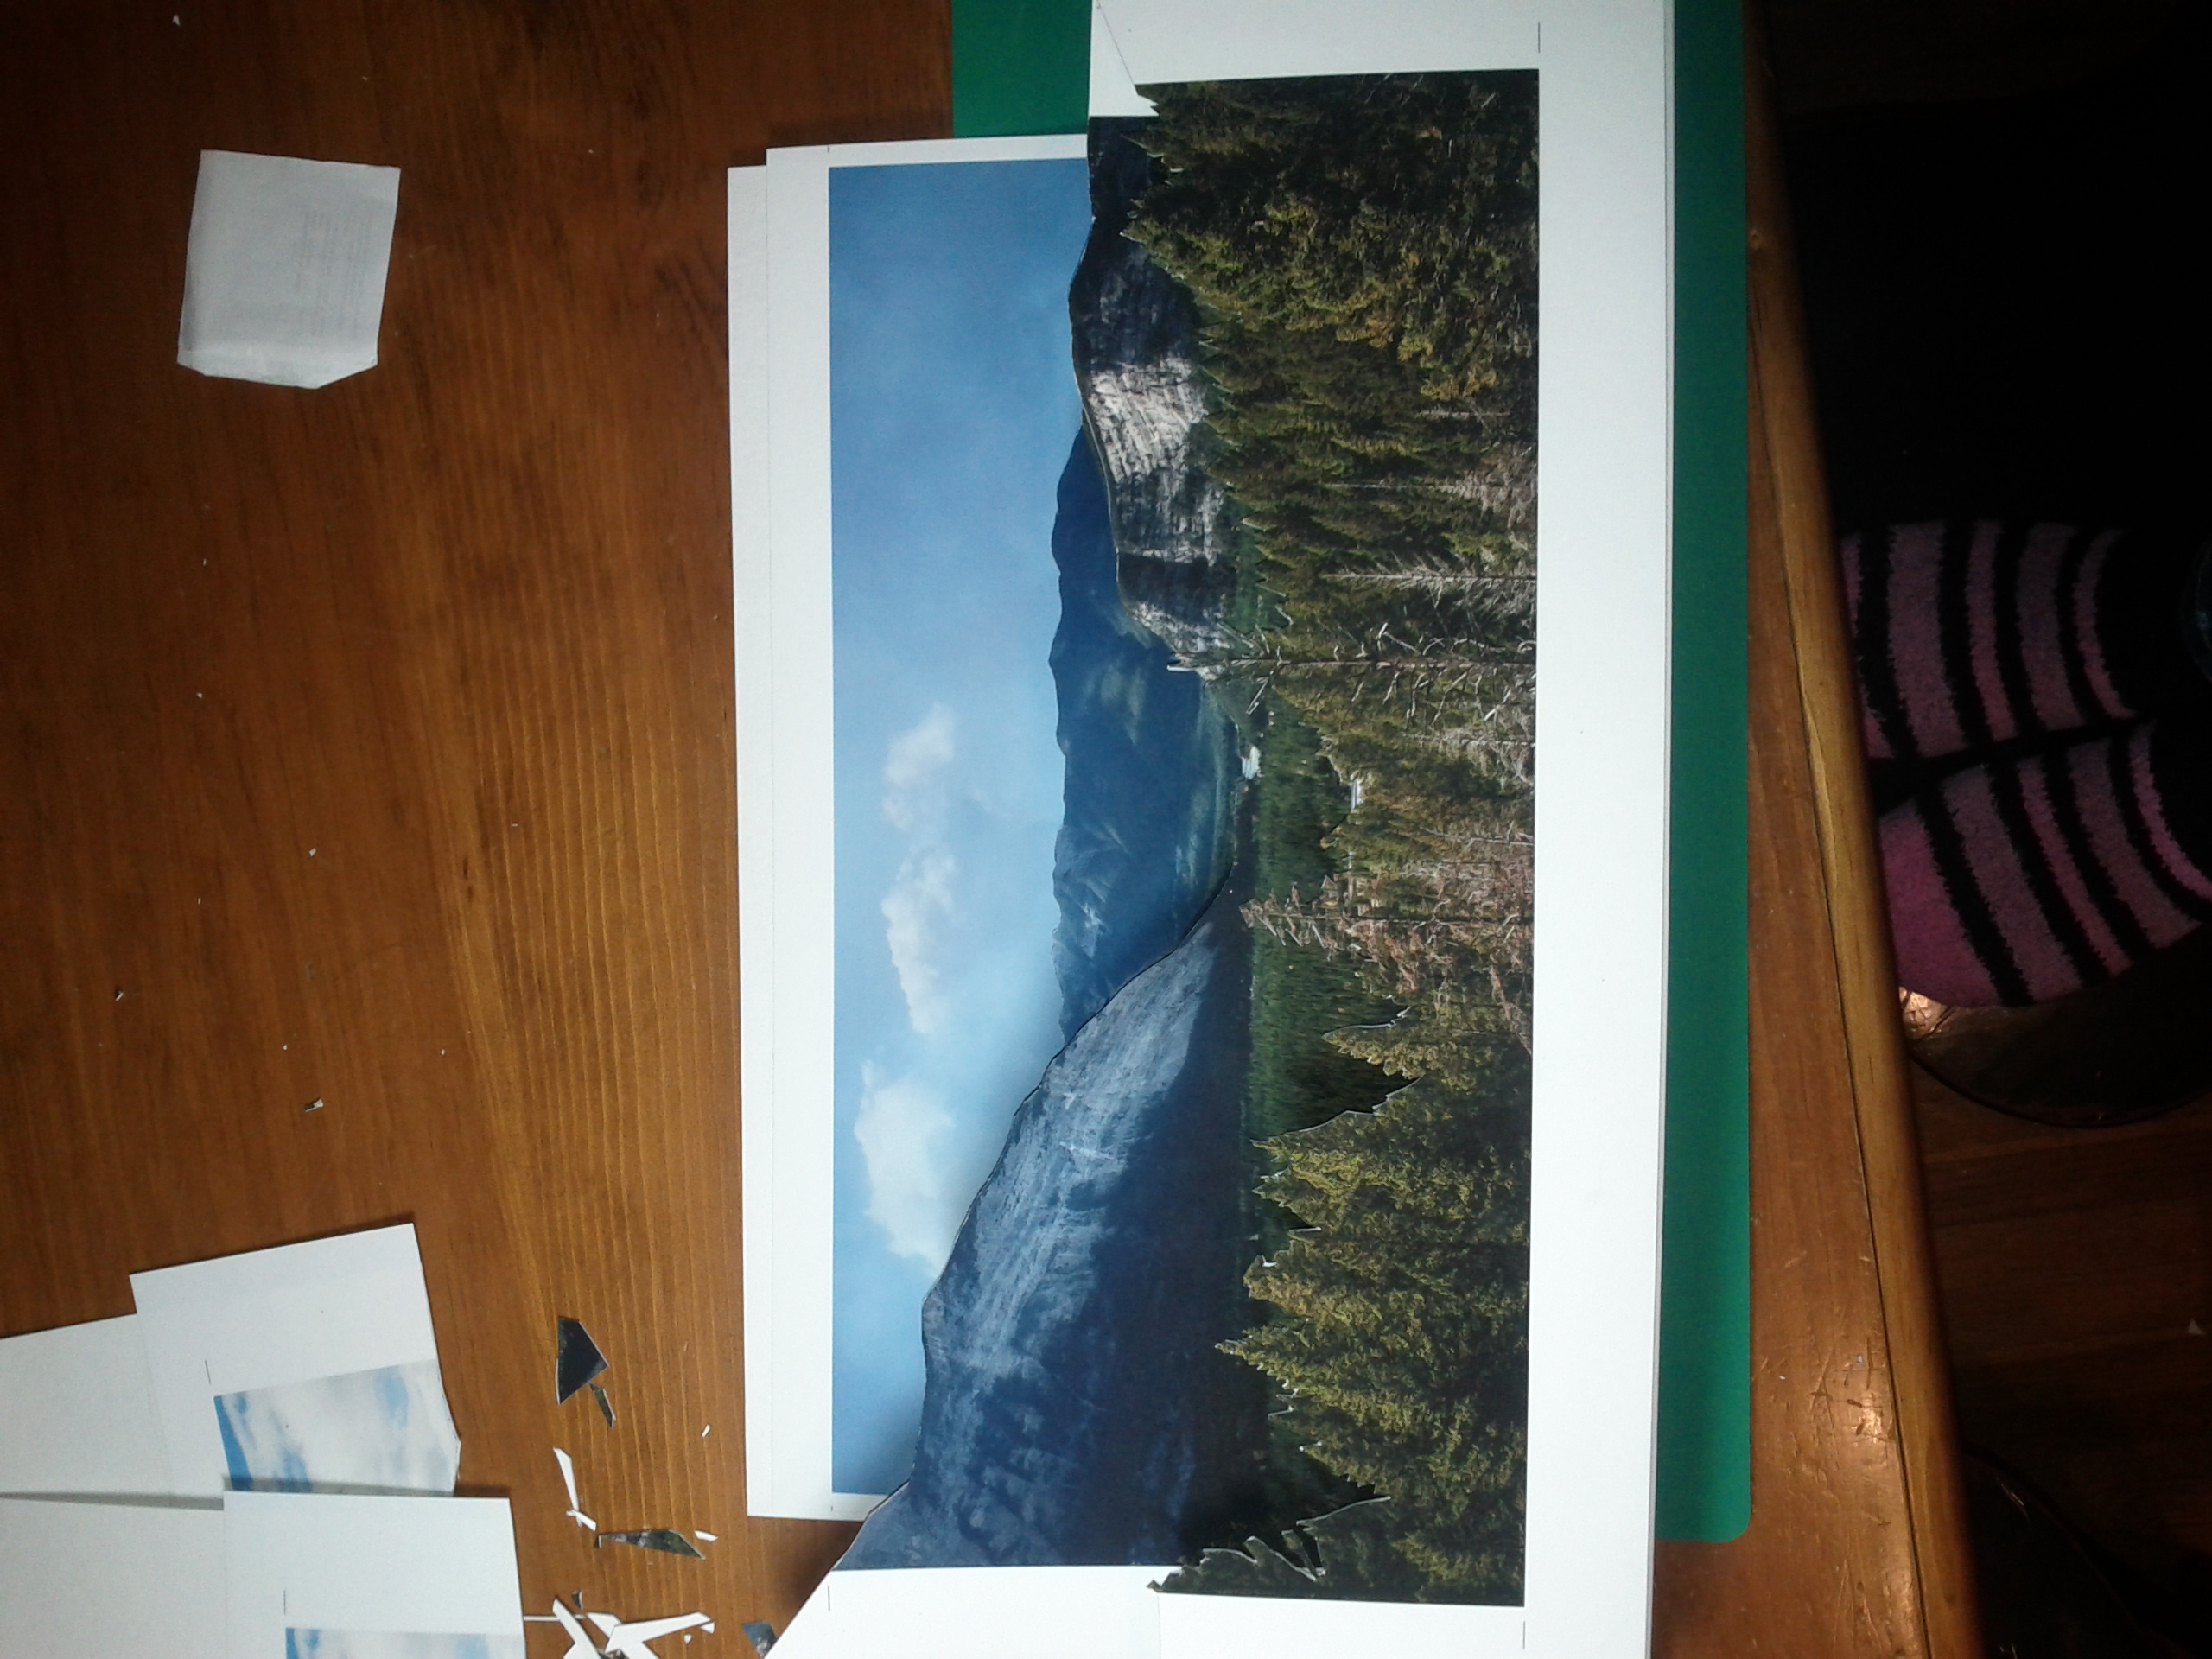
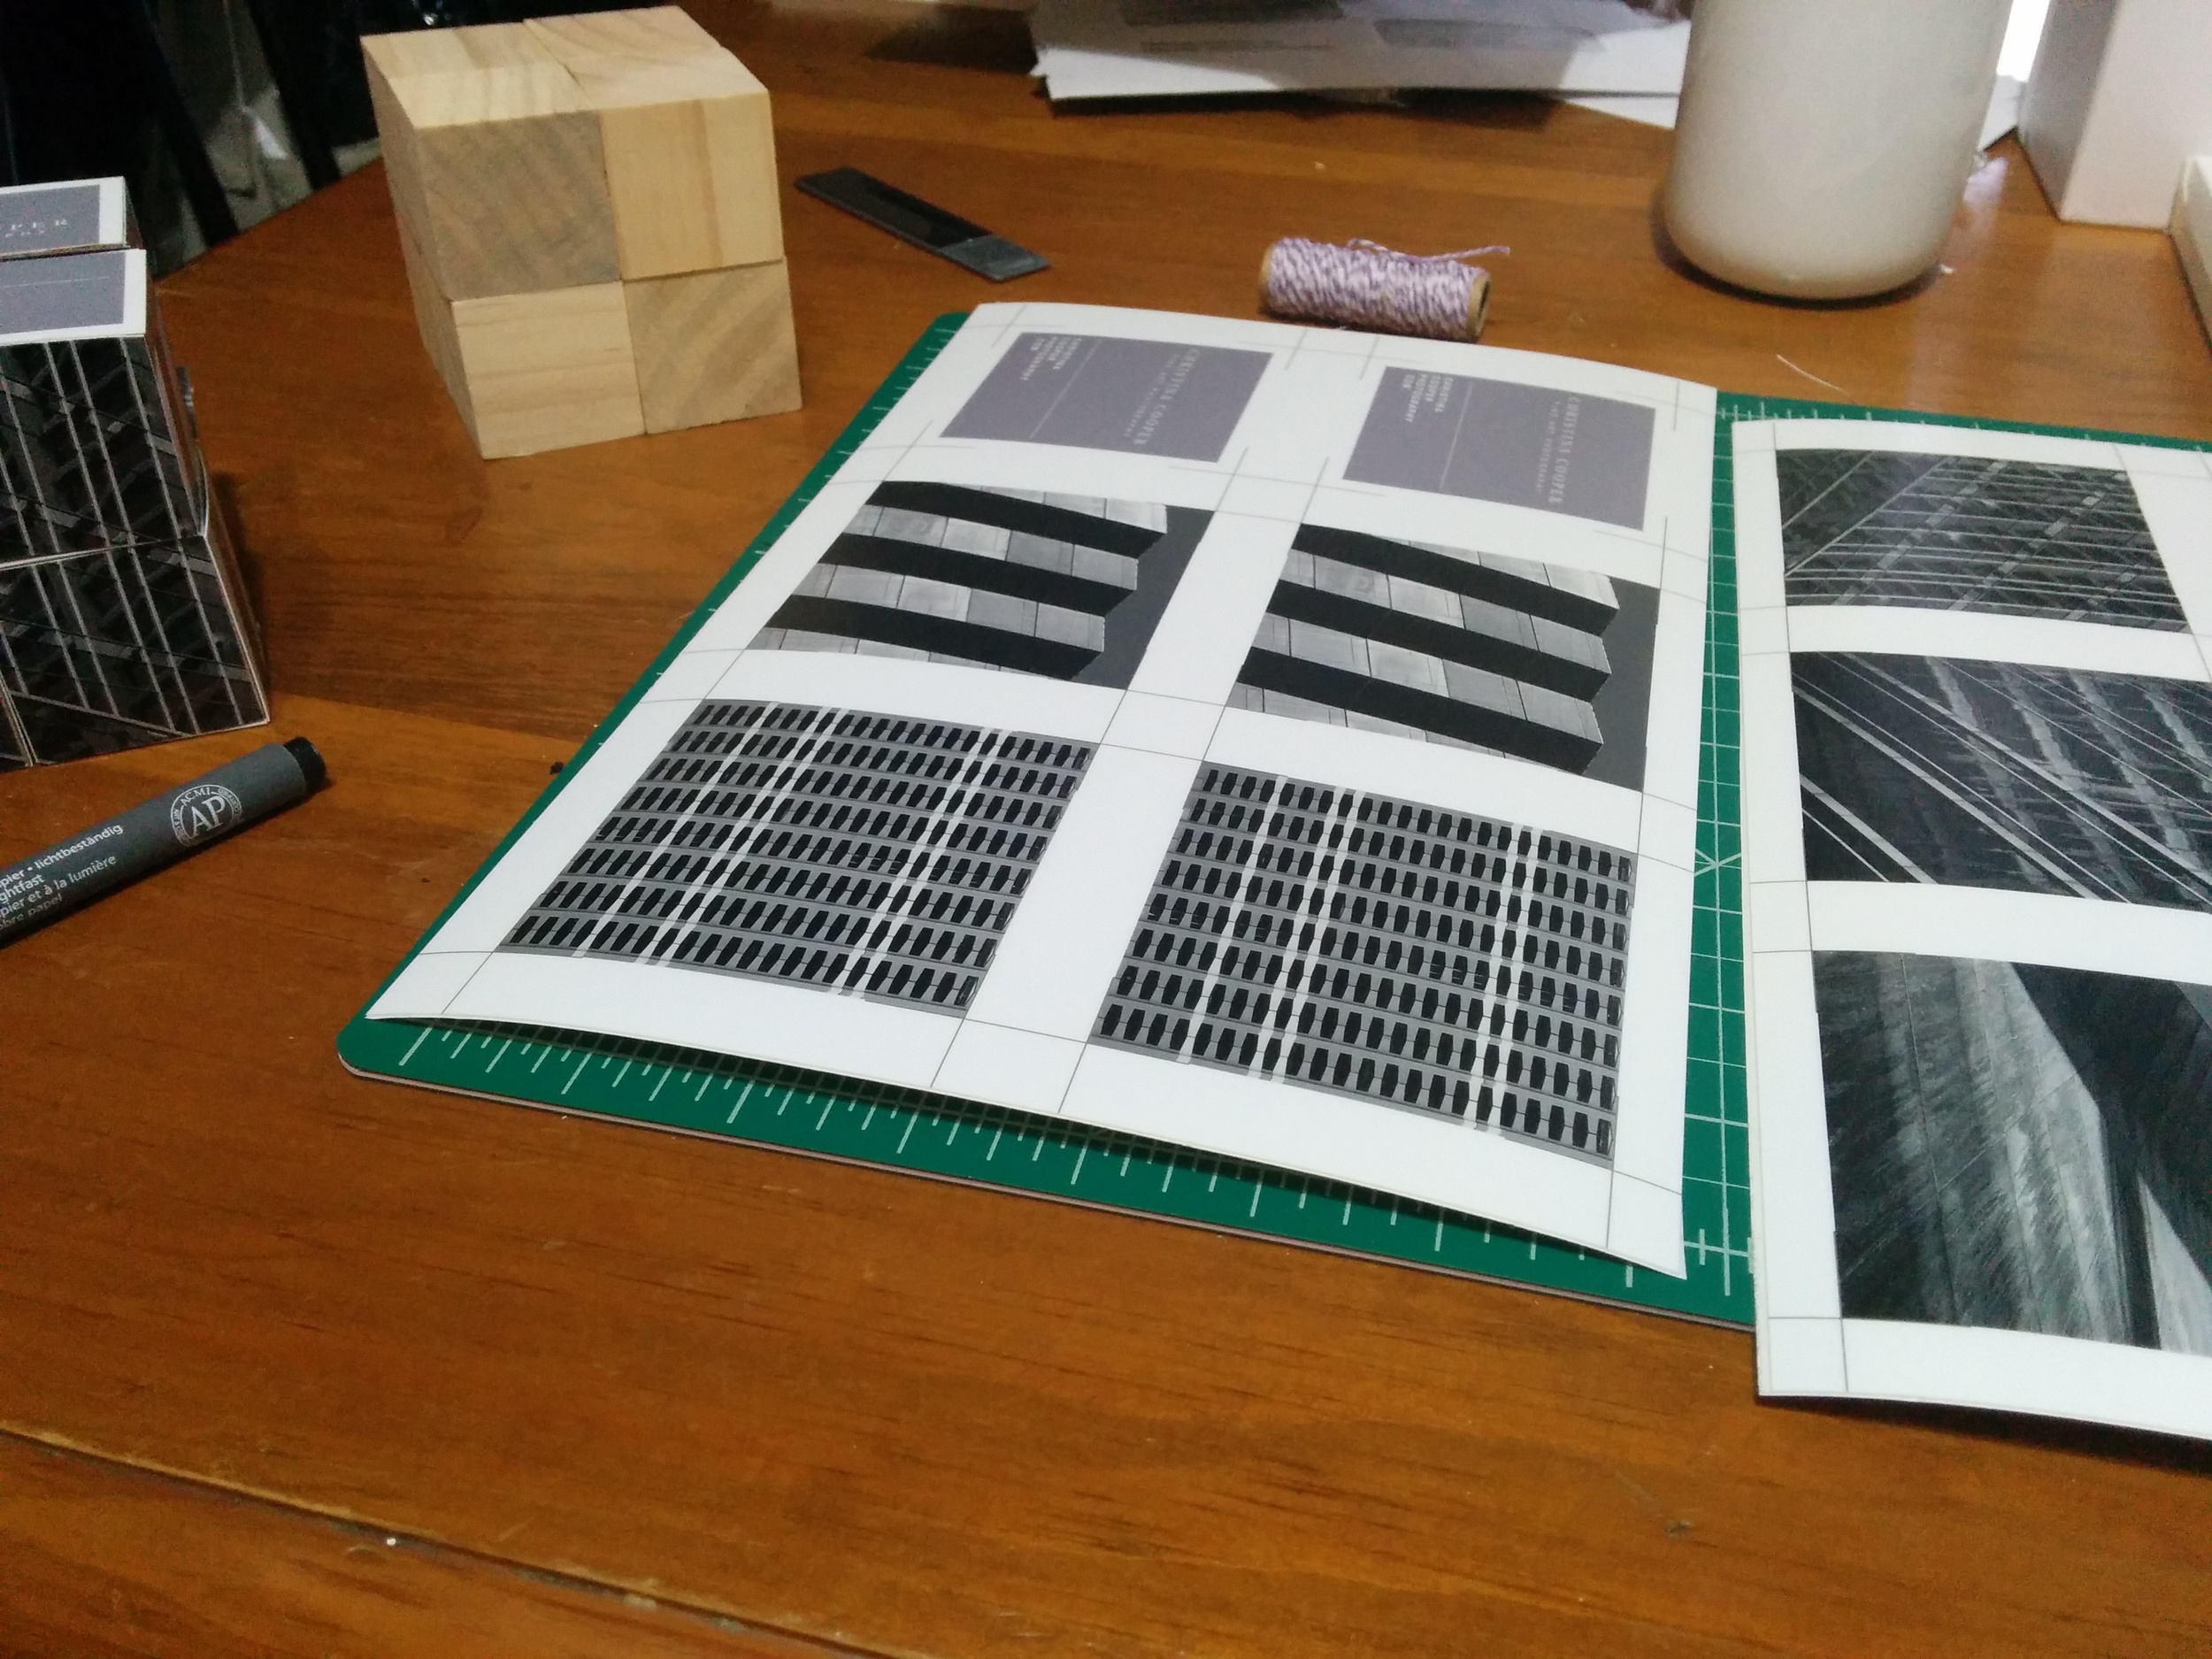
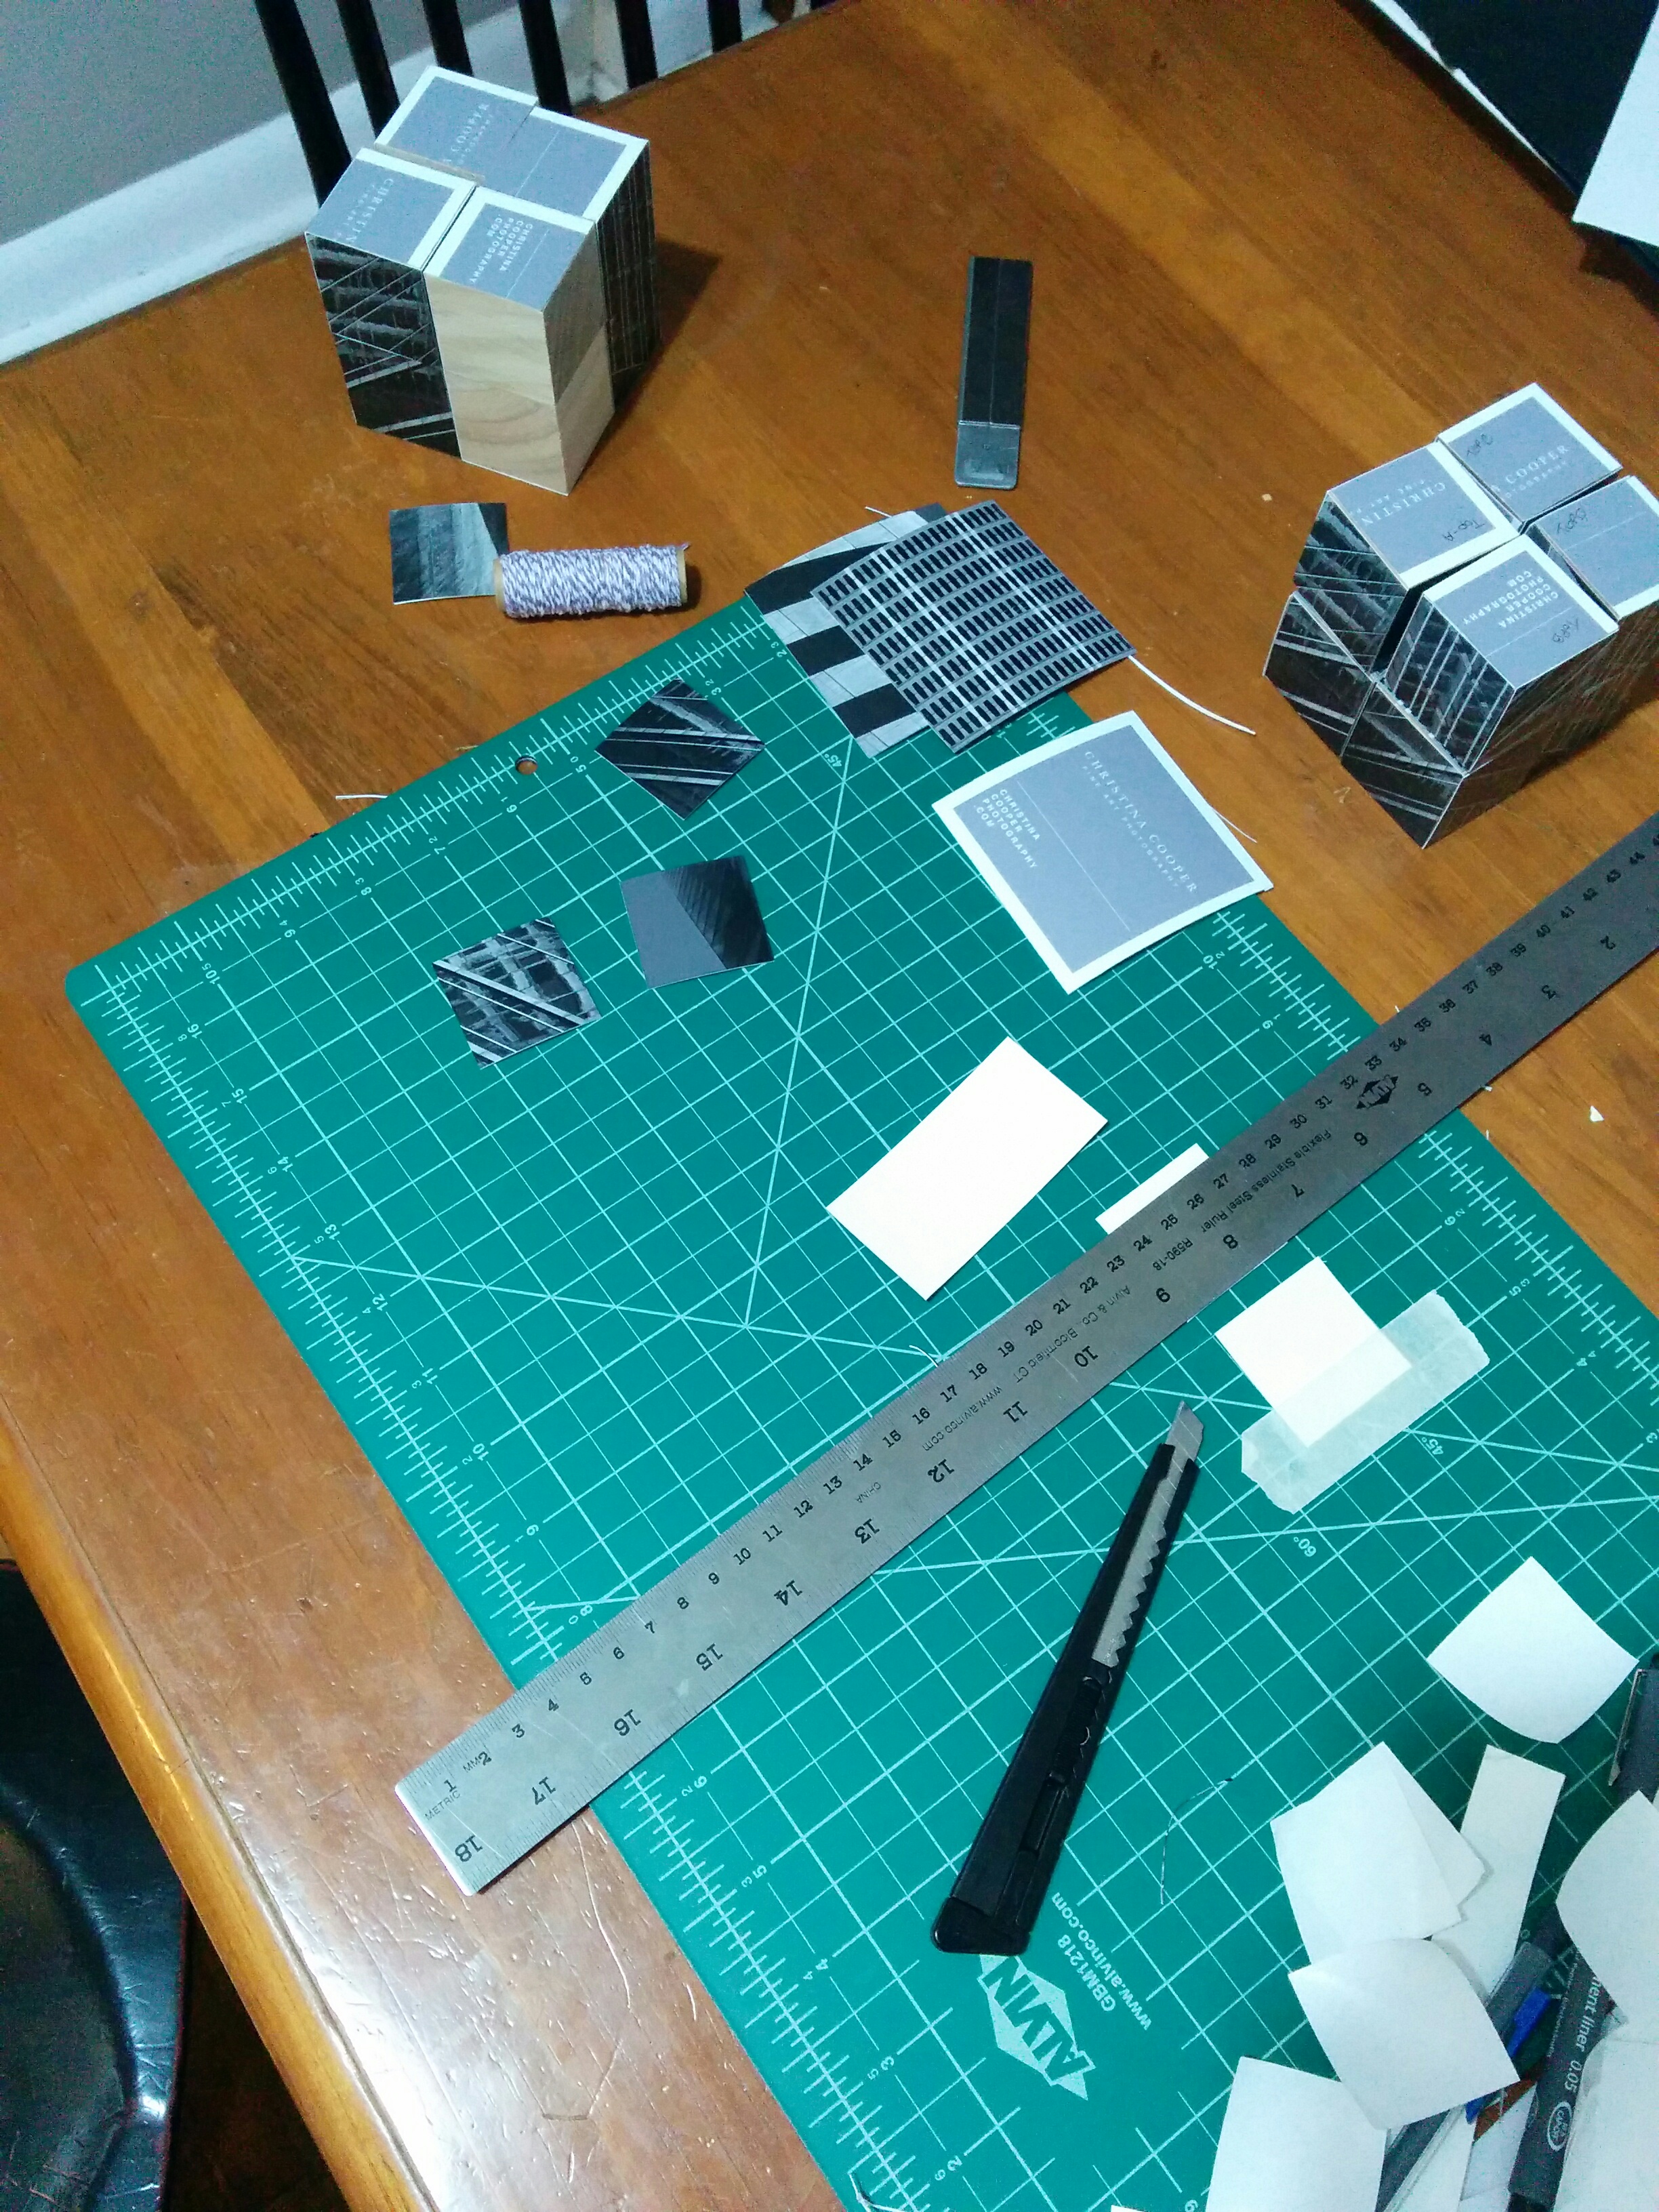
I then choose the 6 images I wanted to be showcased on my promo piece. I choose images that were heavy in repetition and line to again make the puzzle more confusing and less obvious. I printed each image twice at scale for the larger cube (3"). For my first attempt I cut all of my images into 4s and began glueing them to the wood with Rubber Cement. At this point I realized that even though the foundation of my cubes was sturdy the images themselves were easily scratched. So again I printed my images but this time I went to Pro Lam, a shop in Calgary that specializes in lamination services, and got them to laminate my images and attach a heavy duty sticker to the back. I continued working on the non-laminated images to get an idea of the placement of each image and once I decided on that I moved on to constructing the final product.
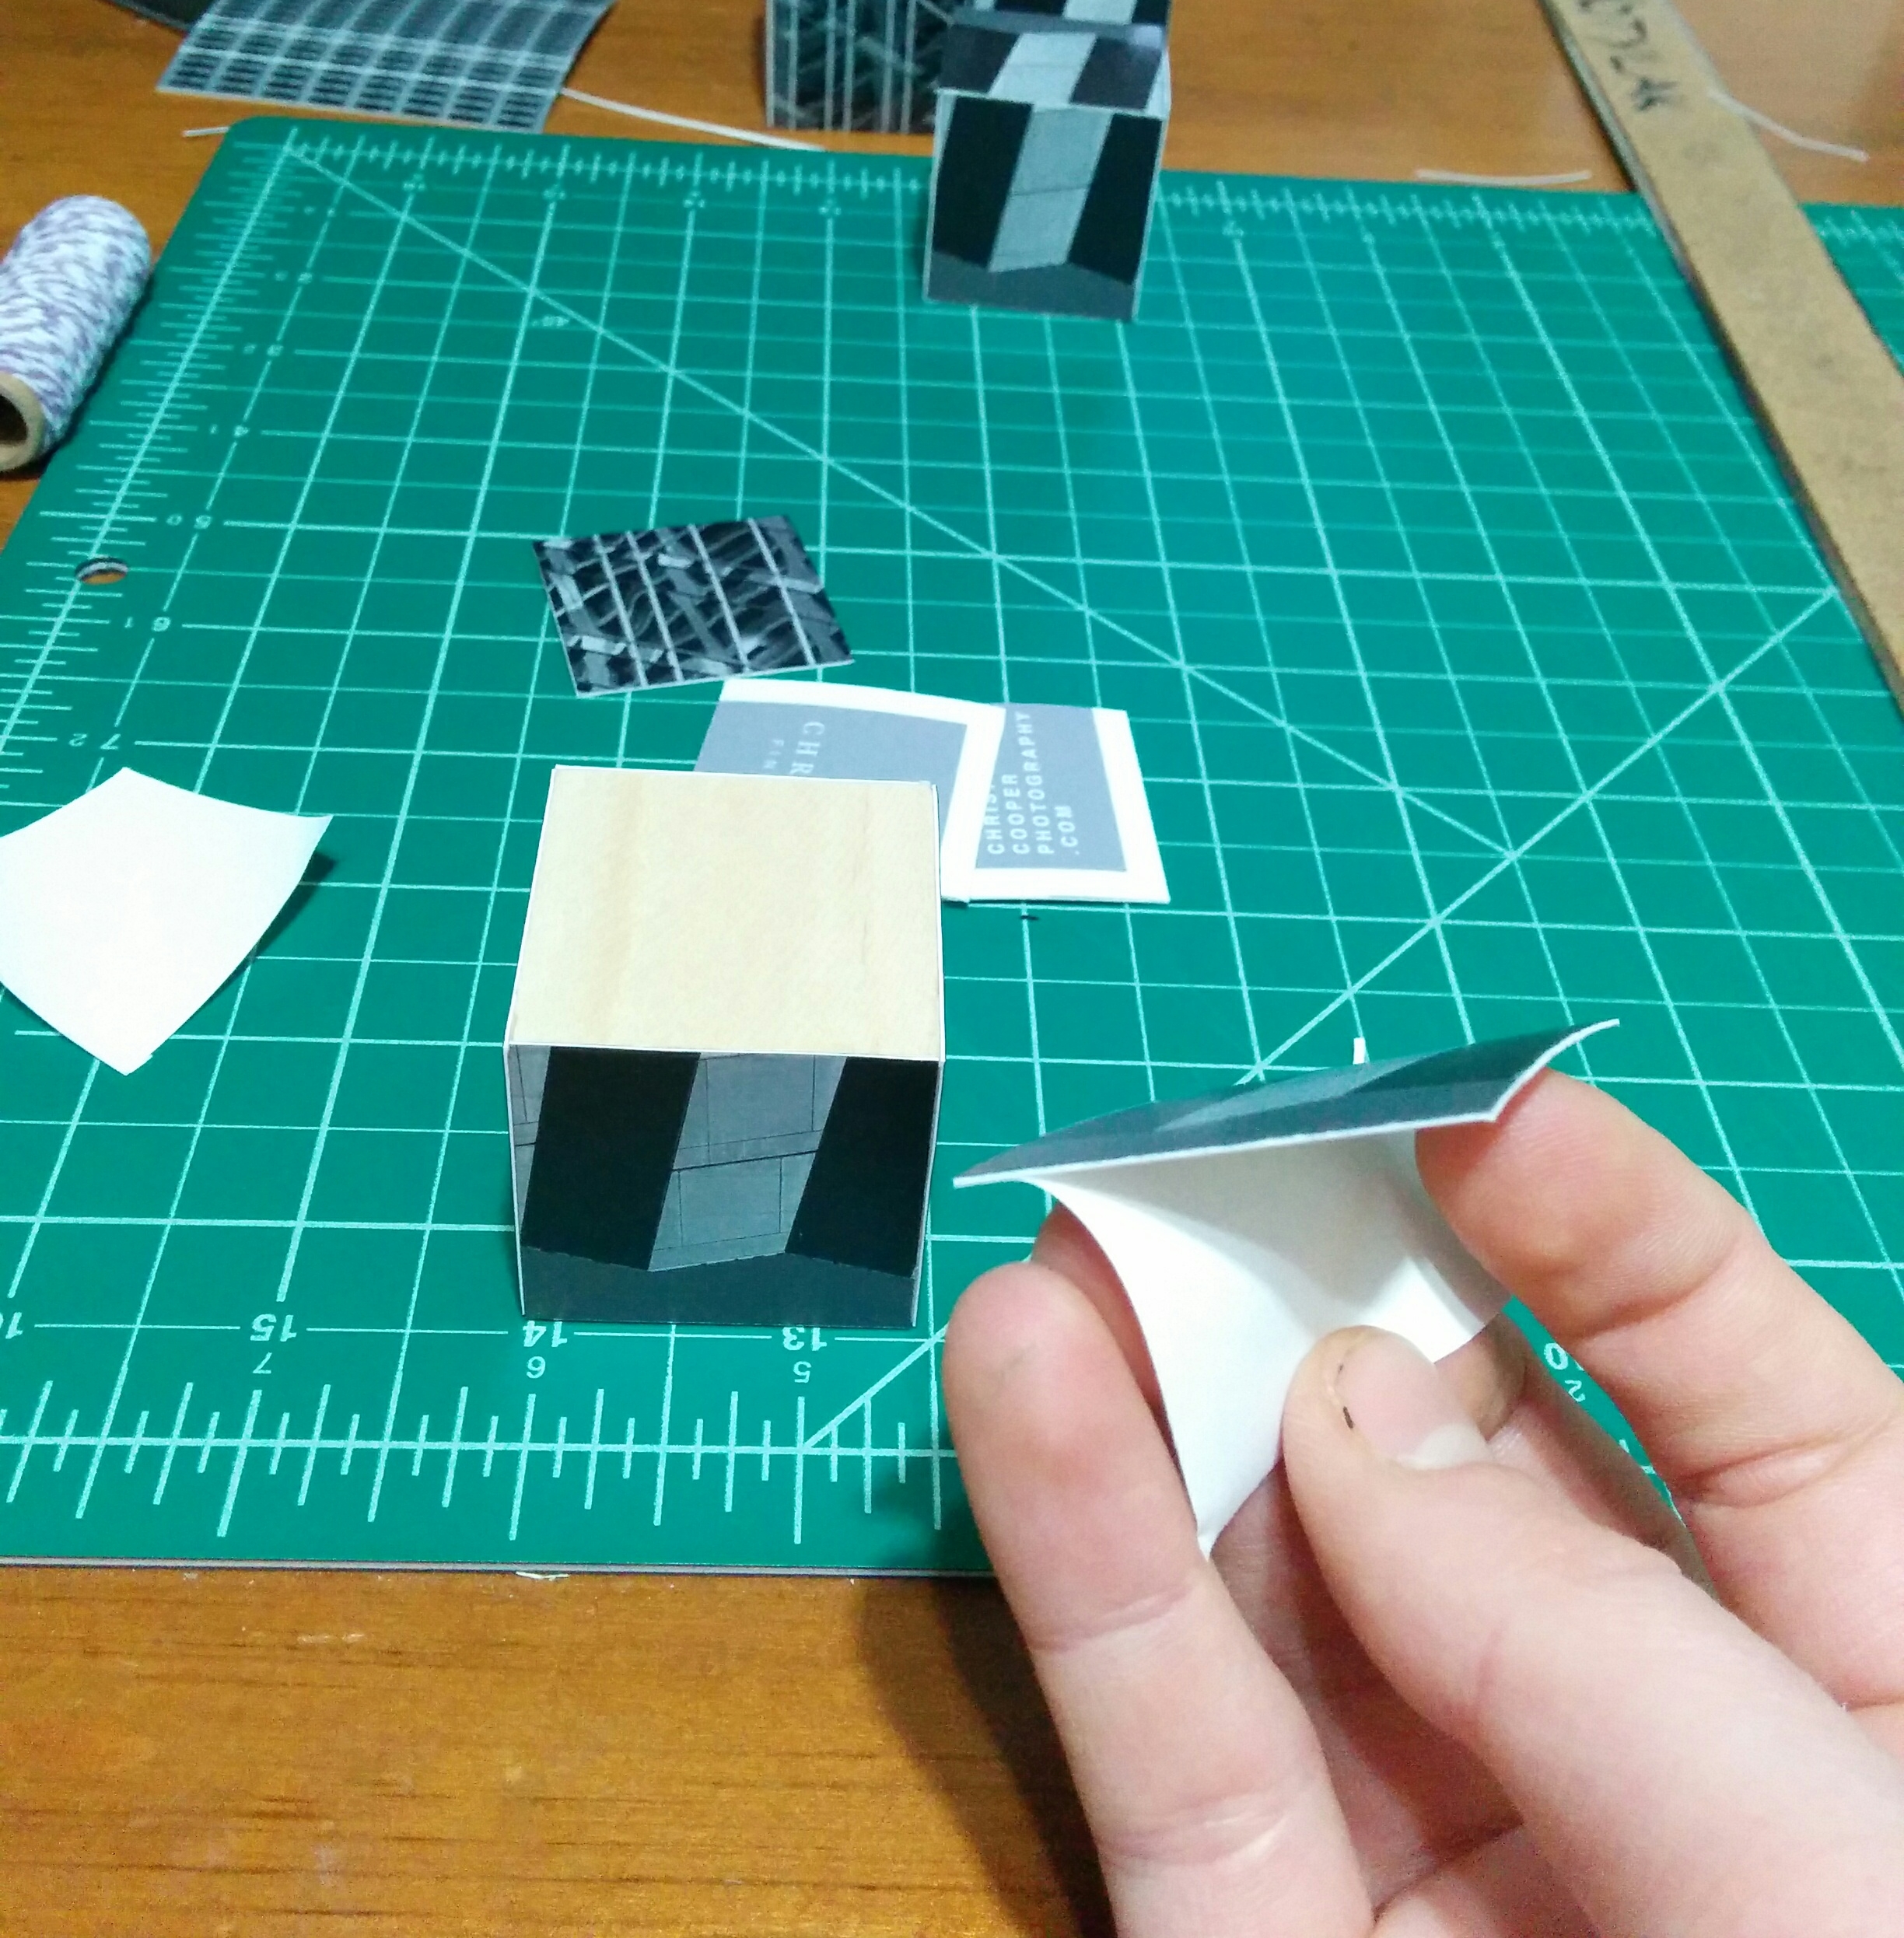
I am really happy with how this promo piece turned out. I think I was able to showcase my work in a unique way and in the end I have produced a tangible art object that engages my prospective clients and encourages them to examine the small details that make up the larger picture.